Views: 66
Introduction
In our previous two posts we have discussed about how to Create Free Weebly Website and how to Learn Web Development Using Weebly. In today’s post we will present a step by step guide to integrate a plugin in Weebly website. If you want to extend the functionality of your website by integrating a plugin in you Weebly Website or having a problem in integrating a plugin in Weebly Website then this step by step guide will be helpful for you.
What is a Plugin?
A plugin is an independent set of files or block of code which can be integrated in a website to extend the functionality of a website. Some examples may include Header Slideshow Plugin, Mailchimp Newsletter Plugin, Twitter Feed Plugin, Disqus Comments Plugin, Facebook Comments Plugin etc. The plugins work independent of the other pieces , sections or elements of the website.
Where to Get these Plugins?
Both free and premium plugins are available on the internet. Mostly jQuery plugins are used on different websites. There are many websites which provide free jQuery plugins like www.jqueryscript.net/, jquery-plugins.net/ etc.
Steps To Integrate A Plugin In Weebly Website
So after having a basic introduction of plugins and how to get free plugins we will now present basic steps to integrate a plugin in Weebly Website.
Download A Copy of Your Plugin
So in first step, select your favorite plugin that you want to implement in your Weebly website and download a copy of that plugin. You will get a folder containing all necessary files and resources (Fonts or Images) which will be uploaded in your Weebly editor.
Go into Html / Css Editor
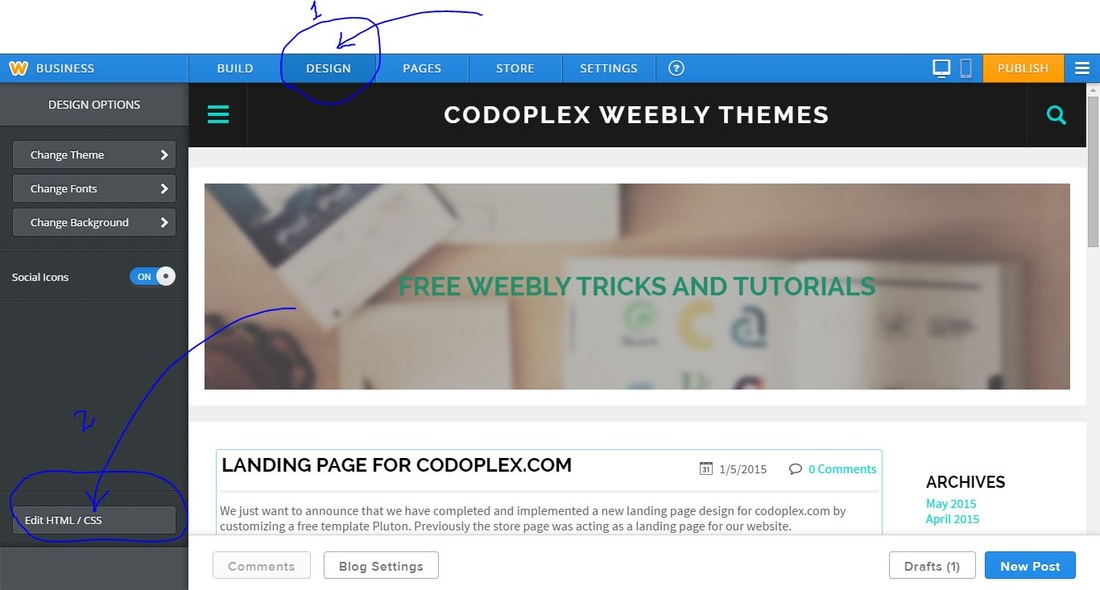
After getting all the required files and resources, now is the time to upload them in Weebly Editor. Go in to your Weebly Website Editor > Design > Edit Html / Css. For clarification see following screenshot.
After clicking Edit Html / Css button you will enter into Html/Css editor where you can change code of html, css and javascript files or upload external files and images that we are going to do in our next step.
Uploading Files in Weebly Code Editor
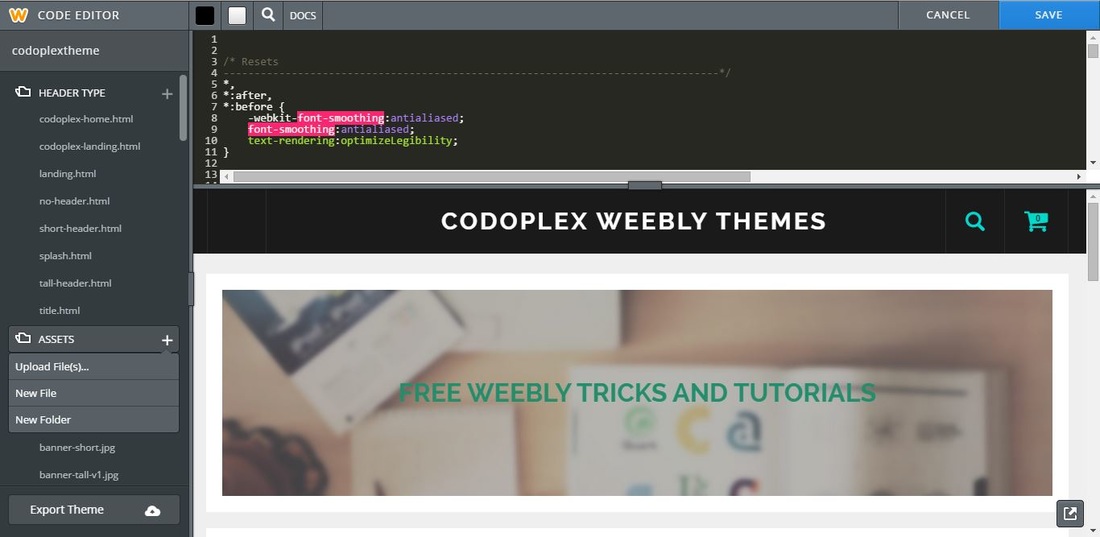
Weebly code editore have two sections i.e Header Types and Assets. Header Types include Html files and Assets include main_style.css file, javascript files and images. To upload new files, to create new files or to create new folders click on the plus icon of Assets folder as shown in following screenshot.
So using this plus icon create a new main folder for your plugin files and sub folders for css files, javascript files and images files (if applicable). After creating all folders, now upload all files and images of your plugin in relevant folders except main index file containing html markup of plugin.
Inserting Main Html Markup of Plugin
Now is the time to insert the main html code of your plugin in different pages of your website. Html markup can be added into the required page either by using “Embed Code” element of Weebly Editor or by editing the html code of Header Type (used by the page) in Weebly Code Editor. Copy the code from your index file (file name may be different) i.e main html markup of the plugin and paste it where you want the plugin to be inserted.
Referencing Your Assets in Html Markup
This is the final step and is little tricky. After completing all above steps the plugin should work properly but you may see problems like your images are not loading properly or the plugin is not working at all. To make your plugin work properly see the html markup of your plugin carefully particularly the lines of code which are including other files (jquery or javascript files) or images. To clarify the concept see the following correct and incorrect ways to reference files and images in Weebly.
<link rel=”stylesheet” href=”css/jquery.cslider.css” />
<img src=”images/Slider01.png” alt=”image01″ width=”320″>
<script src=”js/jquery.mixitup.js”></script>
Correct Ways In Weebly
<link rel=”stylesheet” href=”/files/theme/yourpluginfolder/css/jquery.cslider.css” />
<img src=”/files/theme/yourpluginfolder/images/Slider01.png” alt=”image01″ width=”320″>
<script src=”/files/theme/yourpluginfolder/js/jquery.mixitup.js”></script>
Conclusion
After completing all above mentioned steps, hopefully your plugin will work and will make your website more professional. We have tried to list all possible steps and difficulties that may come while integrating a plugin in Weebly website. If you have any question or problem in integrating a plugin in Weebly Website, comment it below.