-
How WordPress Database Optimization Increased My PageSpeed Score from 55 to 95
This comprehensive guide reveals the exact WordPress database optimization techniques I used to reduce database size by 95% and achieve dramatic speed improvements.
-
Introducing WPExams (V1.0.0) The Ultimate WordPress Exam Plugin for Online Testing
WPExams (v1.0.0) is a powerful WordPress exam plugin for creating online tests with unlimited questions, timed exams, instant feedback, and comprehensive result tracking. Perfect for educational websites.
-
WordPress Google Fonts Integration: Block Theme Guide (2026)
Learn how to master WordPress Google Fonts integration for block themes. Step-by-step guide on using the Font Library, theme.json, and hosting fonts locally.
-
WordPress 6.9 Plugin Development: Everything Developers Need to Know
WordPress 6.9 is set to launch soon, and for plugin developers, this update brings some of the most significant improvements we’ve seen in years. If you’re involved in WordPress plugin…
-
CodoBookings v1.1.0 – Standalone Booking Plugin Update
We’re excited to announce CodoBookings v1.1.0, the latest update to our WordPress booking plugin! This release marks a significant milestone: CodoBookings has fully transitioned from a PMPro extension to a…
-
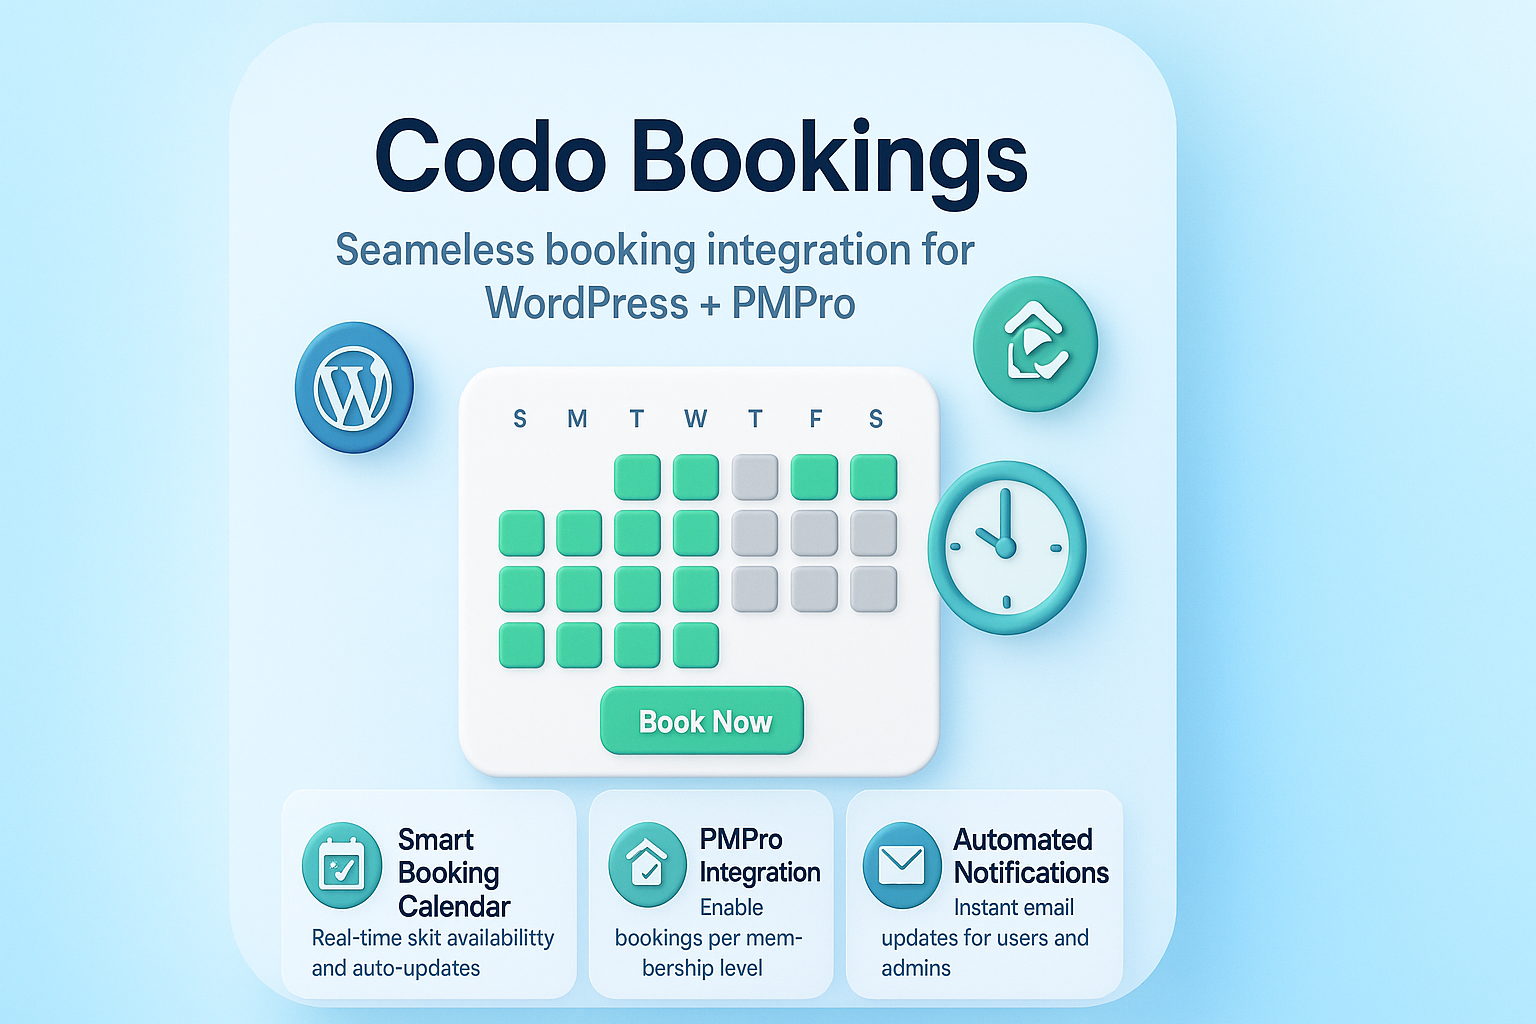
CodoBookings – Simple Booking Plugin for Paid Memberships Pro (PMPro)
Managing appointments shouldn’t be complicated — especially when you already use Paid Memberships Pro (PMPro) to handle your memberships. That’s exactly why I built CodoBookings — a lightweight, easy-to-use WordPress…
-
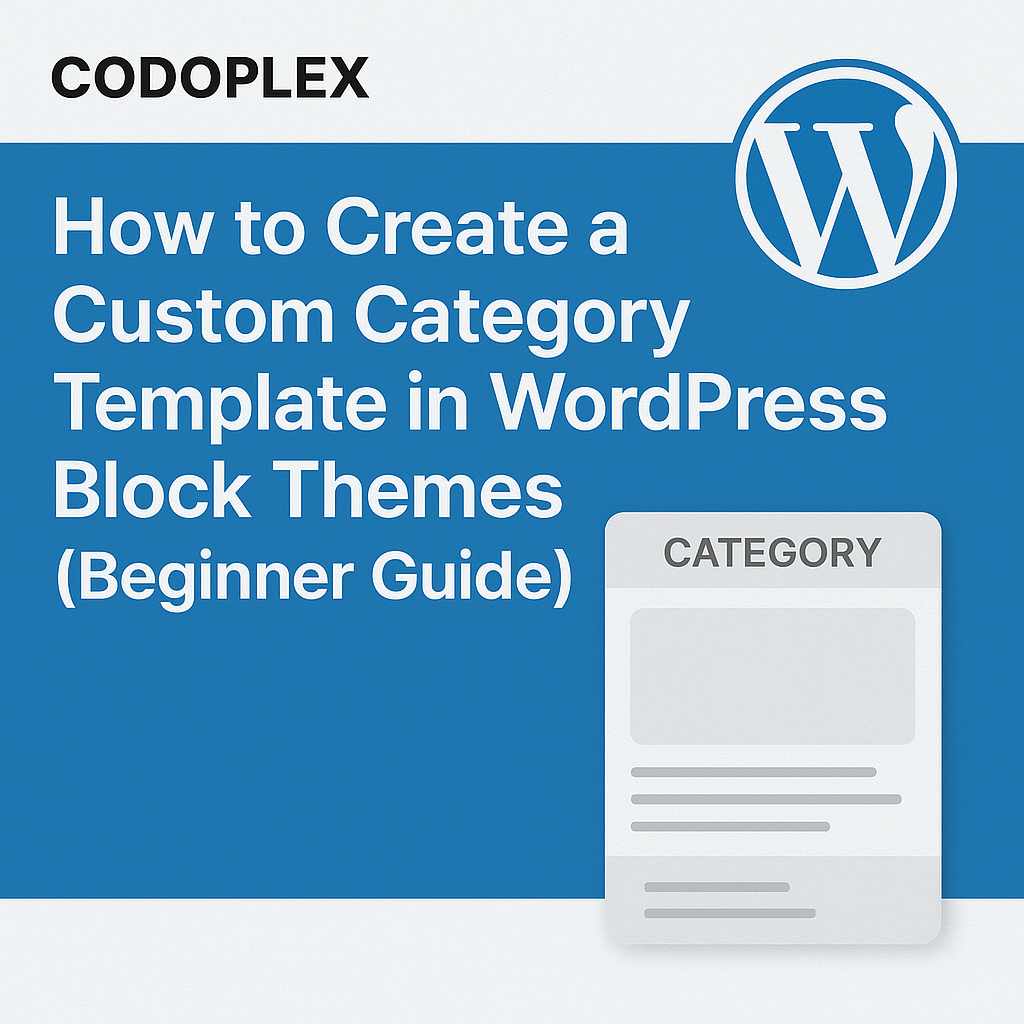
How to Create a Custom Category Template in WordPress Block Themes (Beginner Guide)
Want to create different layouts for specific categories in WordPress? Learn how to design a custom category template in WordPress block themes using the Site Editor and code-based method. Beginner-friendly…
-
How to Automatically Set the First Image as Featured Image in WordPress (No Plugin Required)
Want to automate setting featured images in WordPress? Learn how to create a custom plugin that sets the first image in each blog post as its featured image—individually or in…
-
How We Built a Membership-Based Artist Directory with WordPress + PMPro
Discover how we built a dynamic, membership-powered artist directory using WordPress and Paid Memberships Pro (PMPro). From custom registration forms and media uploads to a public-facing artist map, learn how…
-
Why You Need to Migrate Your Website from Weebly to WordPress
Thinking about moving your site from Weebly to WordPress? Learn why it’s a smart move for SEO, scalability, and design freedom — plus explore auto/manual migration options and how to…
-
Add Custom CSS, JS, and PHP to WordPress Without Editing Themes or Plugins
Easily manage your WordPress customizations! Add custom CSS, JS, and PHP code securely without worrying about theme updates. No coding risks or child themes needed.
-
How to Build a WordPress Plugin to Import Weebly Blog Comments Easily
When migrating a blog from Weebly to WordPress, a big challenge is importing comments, because Weebly does not offer a structured export feature for them. In this post, you’ll learn…